This section provides new users with a set of run-through tasks to familiarise themselves with the Zantiks unit. We recommend that users conduct this run through after they have set up the Zantiks unit and familiarised themselves with the Zantiks Control Console and the Zanscripts & uploading services functions.
Familiarise yourself with the unit
There are demo scripts available on the Zanscript - Operating stimuli and Zanscript - Writing experiments sections of our website. Each of these demo scripts demonstrates specific features of the unit, tests these features work properly and shows how the commands work together to track and output behavioural data. It is useful to run these scripts to help familiarise yourself with the features of the scripts and how to edit various aspects of the commands.
Some of these demo scripts will require assets to be uploaded into the Asset directory folder on your Zantiks Control Console, which is found under the Administration section (#4 in the image below) on the Home page. Ensure the correct asset name is in the LOAD(ZONES,"name_of_asset") command in the demo script.
See the Asset Building pages for instructions on how to create assets for the MWP unit, LT unit, and AD unit.

To start to familiarise yourself:
- With the LT and AD units: first insert the testing tank/cage into the recessed area above the screen in the system ensuring it is slotted securely in this area.
- With the MWP unit: place a multi well plate or petri dish on the light/diffuser stand and then insert the stand with plate into the recessed area at the bottom of the chamber. Take care that all the stand's legs are slotted into the recessed area. For best results, push the stand to the back and left of the recessed area.
- On the Live Video page (#10 in image above), a live image of the cage/tank or well plate within the unit can be seen.
- Capture Image (#9 in image above) will take a still image of the camera’s current view.
- This image can be found in the Media Directory (#5 in image above) on the home page in the bottom left corner of the Administration section.
- The file will be named “capture.jpg”, located at the top of this page.
- With the LT and AD units: You can configure the various inserts inside the tank and take pictures to see the many ways the tank can be set up.
Running services with 'fake animals'
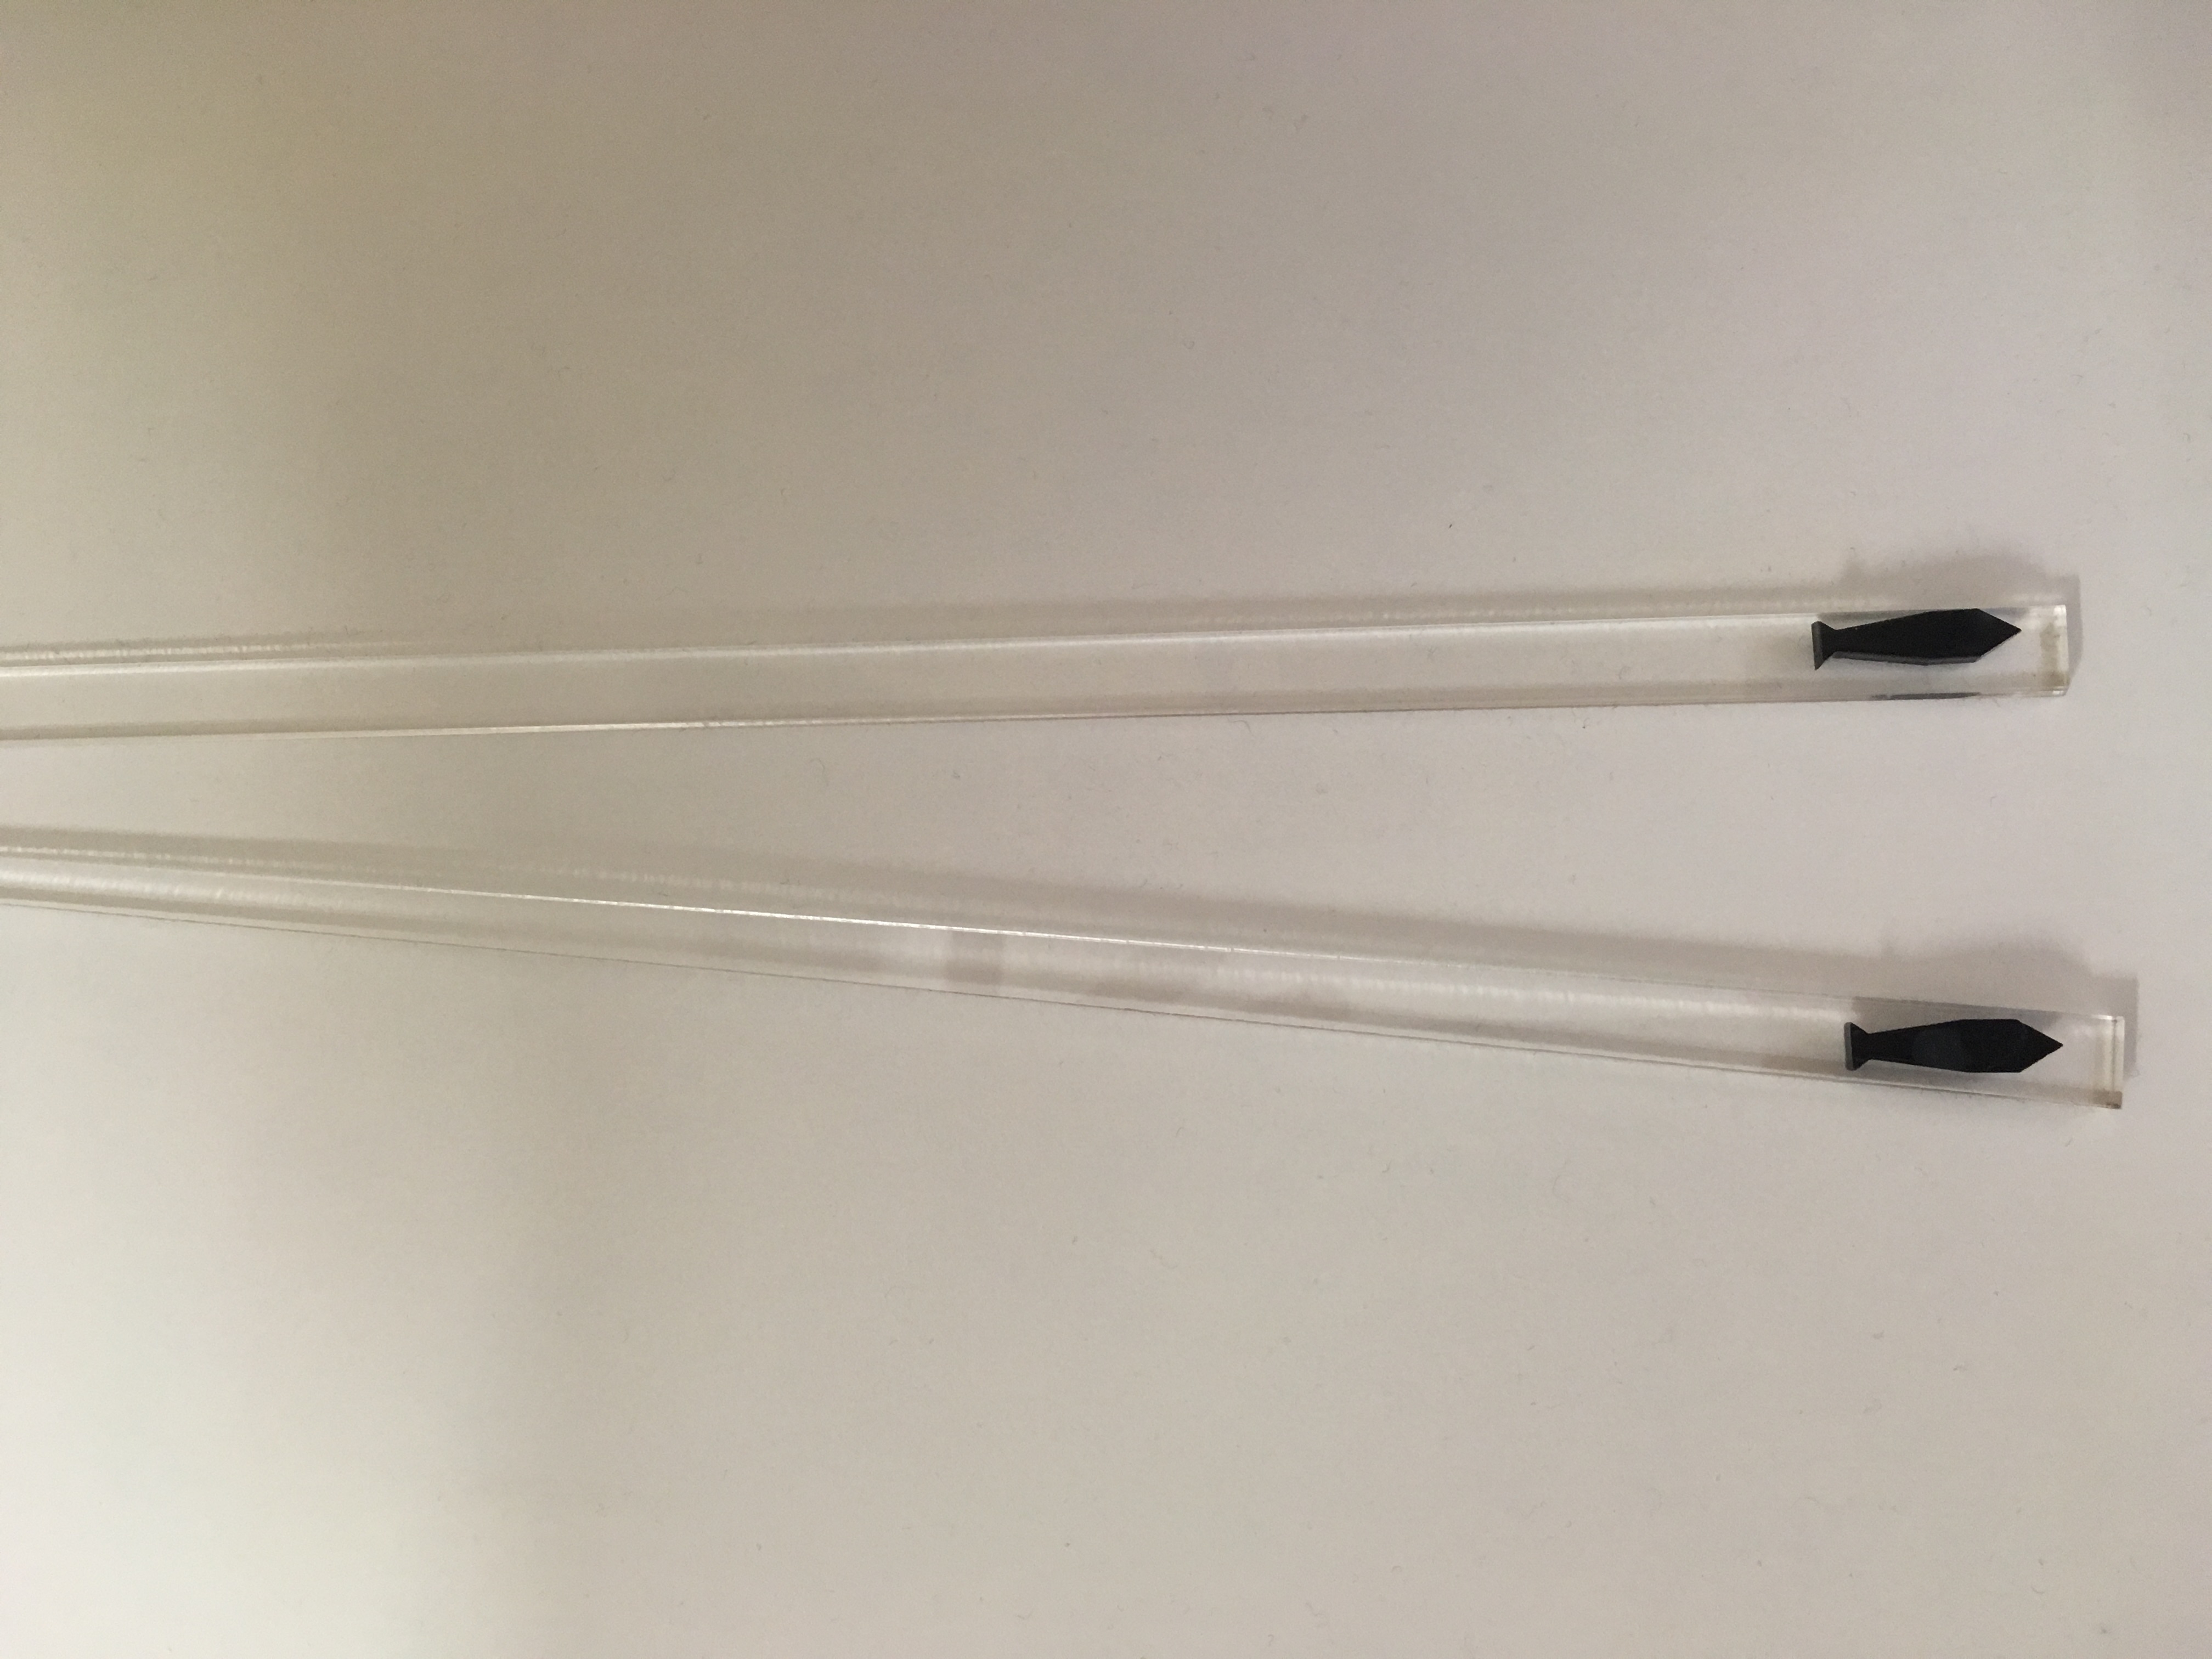
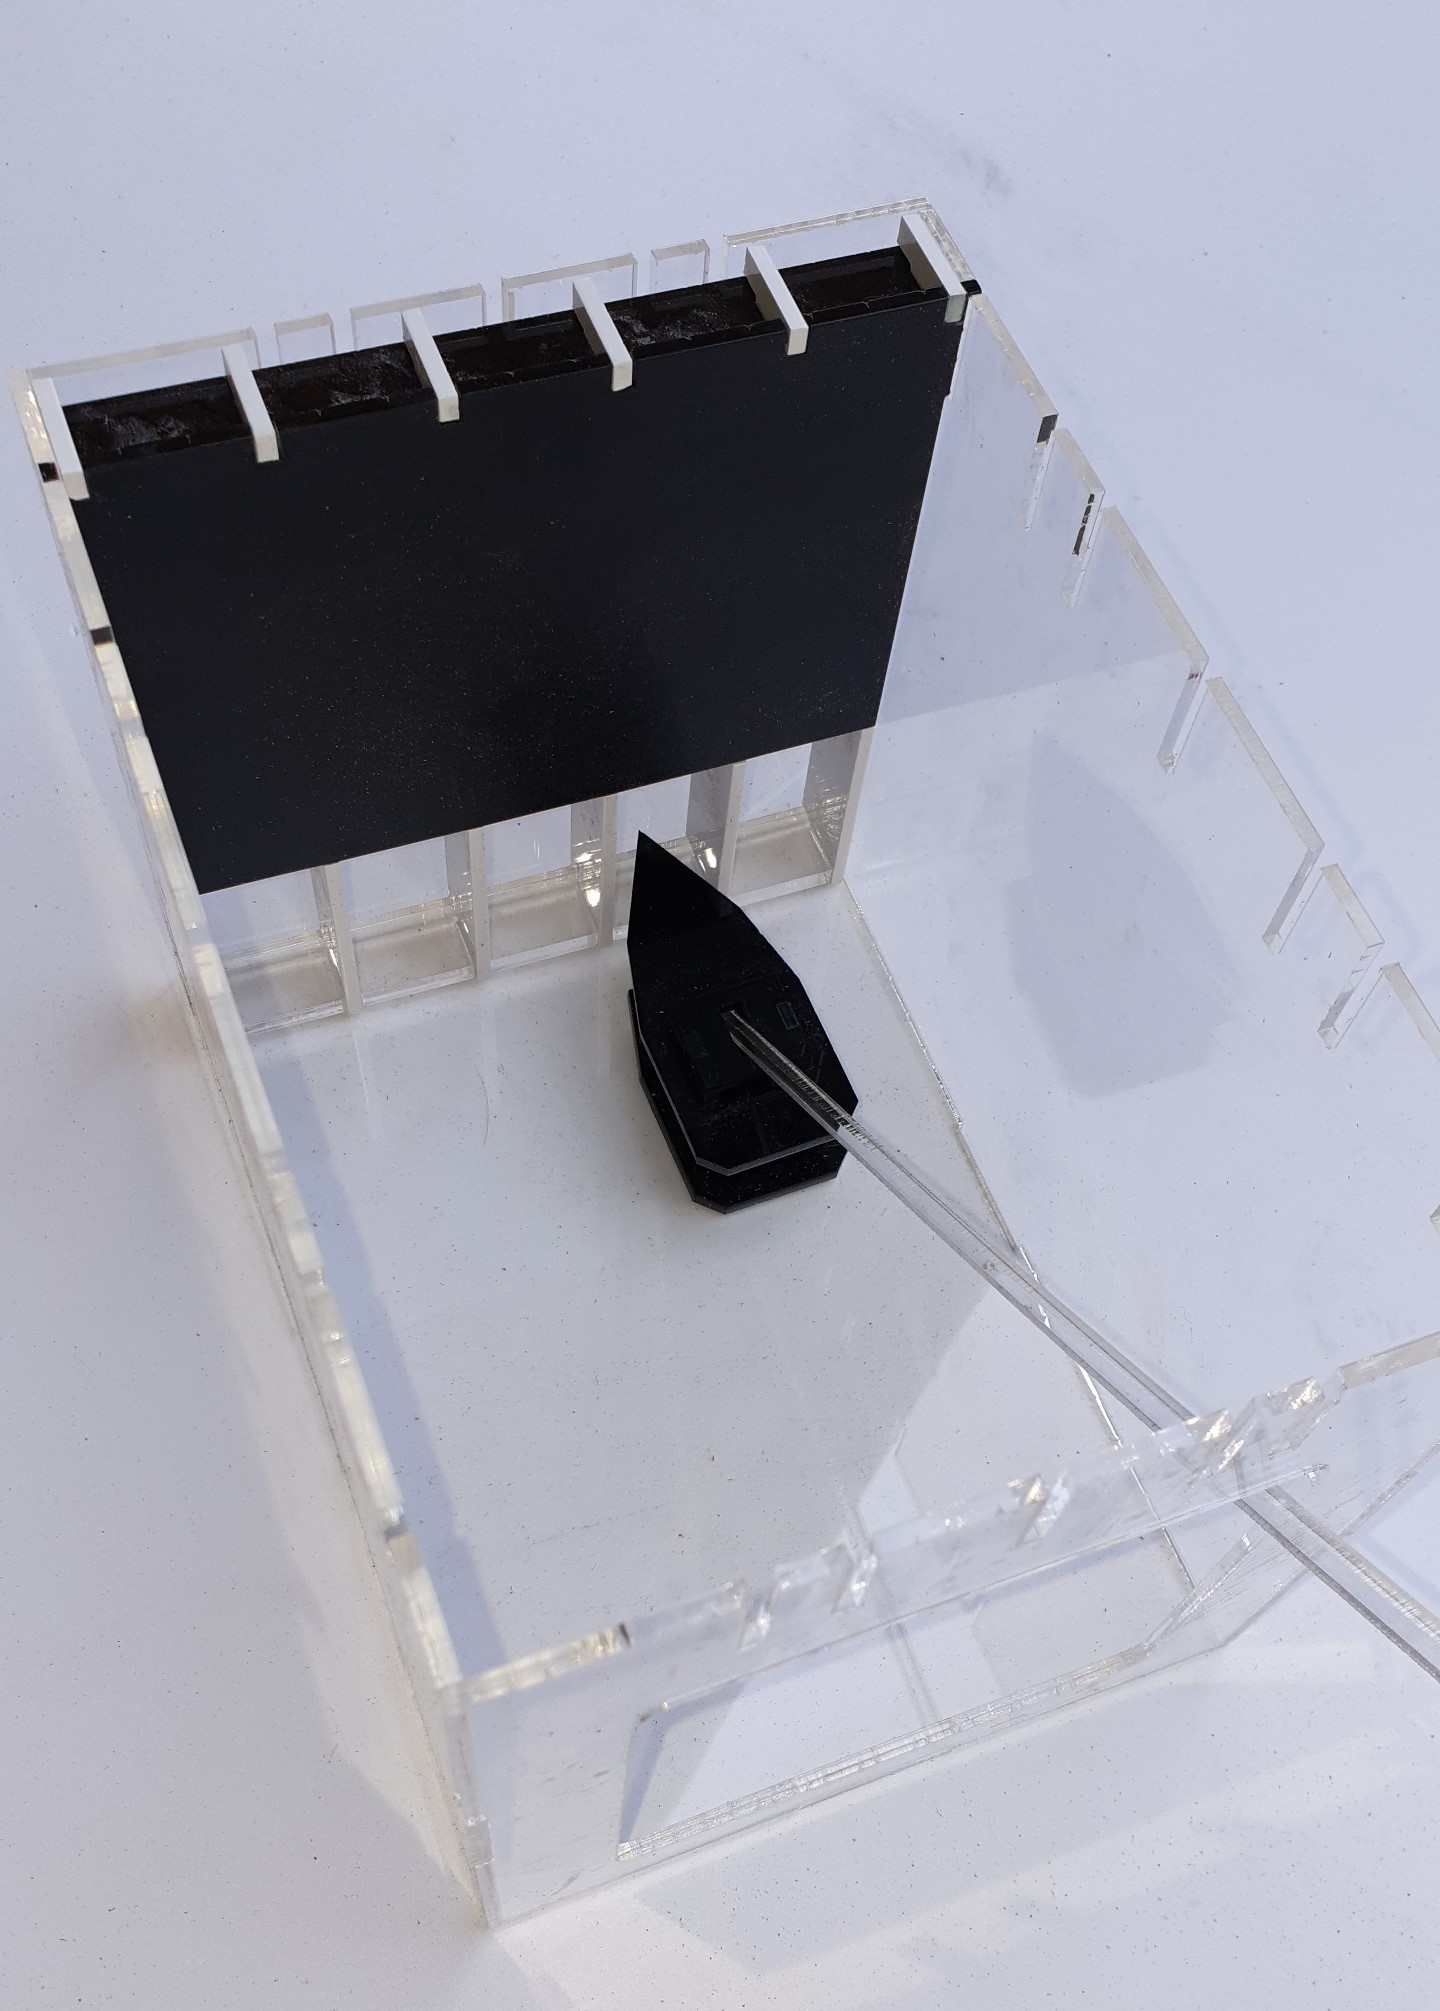
We recommend that you run through demo scripts, and new scripts, using the supplied 'fake fish'. By using these you can check automated stimuli and data collection. Once a script with an AUTOREFERENCE() command is 'built' as a service, there will be a time period defined by the SET(AUTOREF_TIMEOUT,#) command, when the unit is collating an auto reference image enabling it to track the model organism.

During this auto-reference time, move the stick with the animal on it around towards the top of the chamber. Take care to keep the stick flat. (The fake animals are mounted on clear acrylic sticks that catch and reflect light if not moved flat in the unit or if too close to the bottom screen (and infrared light). The auto reference image will have bright patches across it from the stick if it isn't held high in the chamber during this initial period.)
The 'fake fish' will begin to show a target marker once the AUTOREFERENCE period is over and it has begun to be tracked.

Uploading Zanscripts and creating services
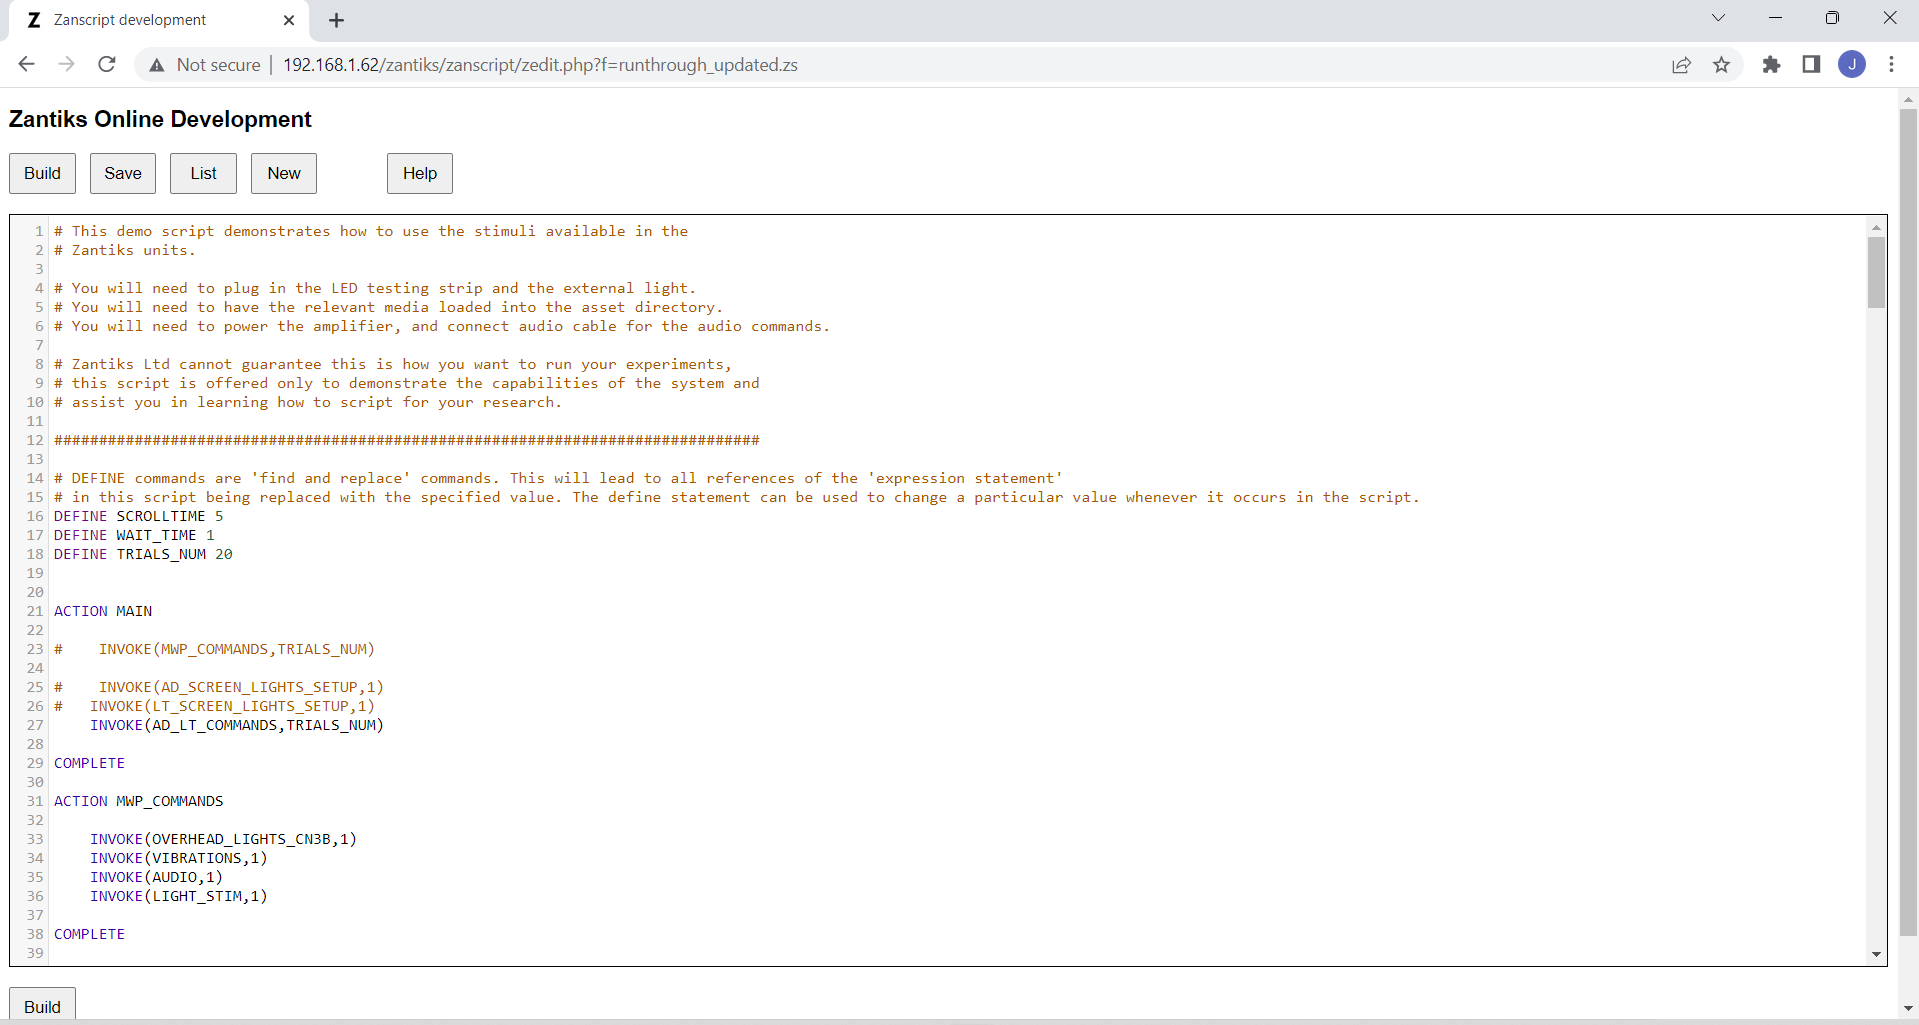
To explore scripts, download a demo script from the Operating stimuli and Writing experiments sections of our website and upload it into the Zanscript directory page (#11 in image above).

- By clicking the edit link next to each file’s name, you can open the file and see the script in detail.
- Some of the demo scripts have notes built in to them - each note is written next to the relevant line of code it is explaining after a tabbed space and a hash sign #. The unit will not read any text that is written after a #, therefore the notes will not interfere with the commands.
- Each of the demo scripts will need to be 'built' by clicking the Build button. This compiles all the commands into an executable file (i.e., a .zex file) for the unit to read. You can then load the experiment as a service on the unit. All .zex files are held in the ‘Services Directory' (#3 in image above).
- Once built, a script can then be loading as a 'Service' through the Settings page (#2 in the image above). Instructions on this, and writing scripts, are included in the Zanscripts & services manual.
Continue on with the Zantiks Control Console to see how you operate the unit via your web browser.


