Most configuration settings will be set specific to the type of Zantiks system and these are set prior to shipment. There may be times you will want to change some of the settings, for example you may want to change the frame rate, so the system always boots up with this set frame rate (changes can also be made via individual scripts). This can be done on the configuration settings page, found through the Settings link on the Control Console's homepage.
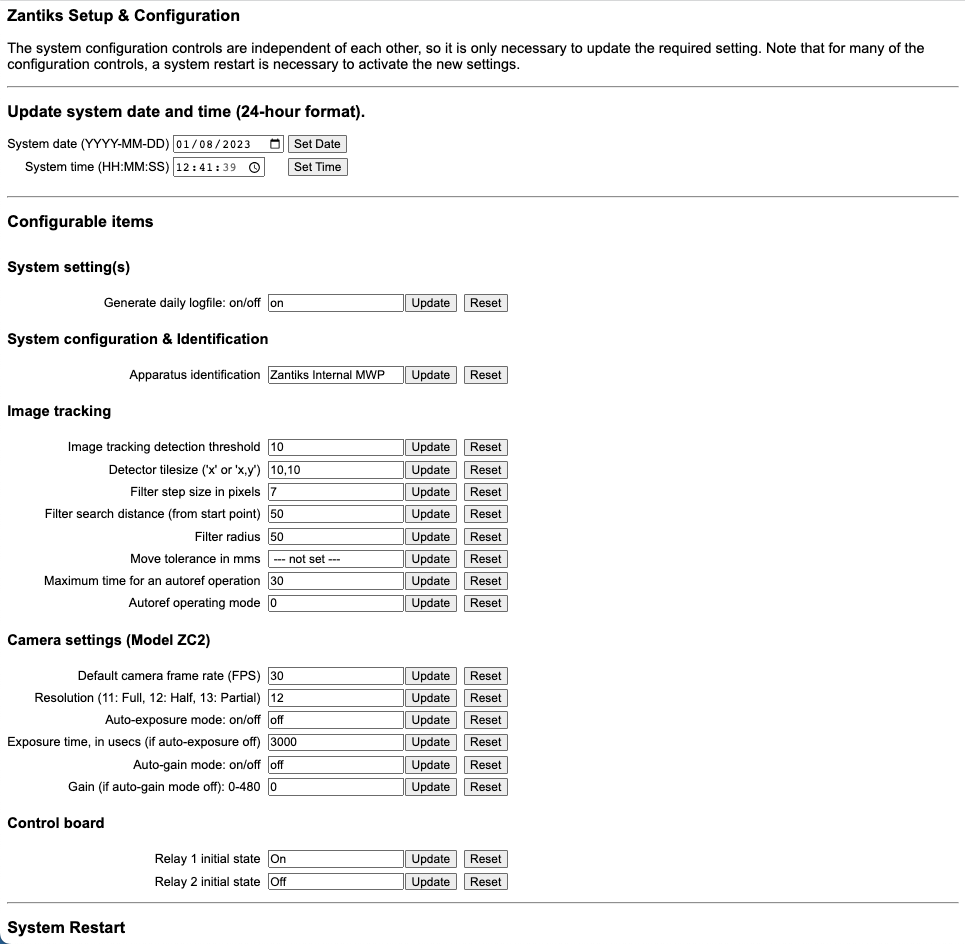
The system configuration controls are independent of each other, so it is only necessary to update the required setting. For many of the configuration controls, a system restart is necessary to activate the new settings.
Update system date and time (24-hour format)
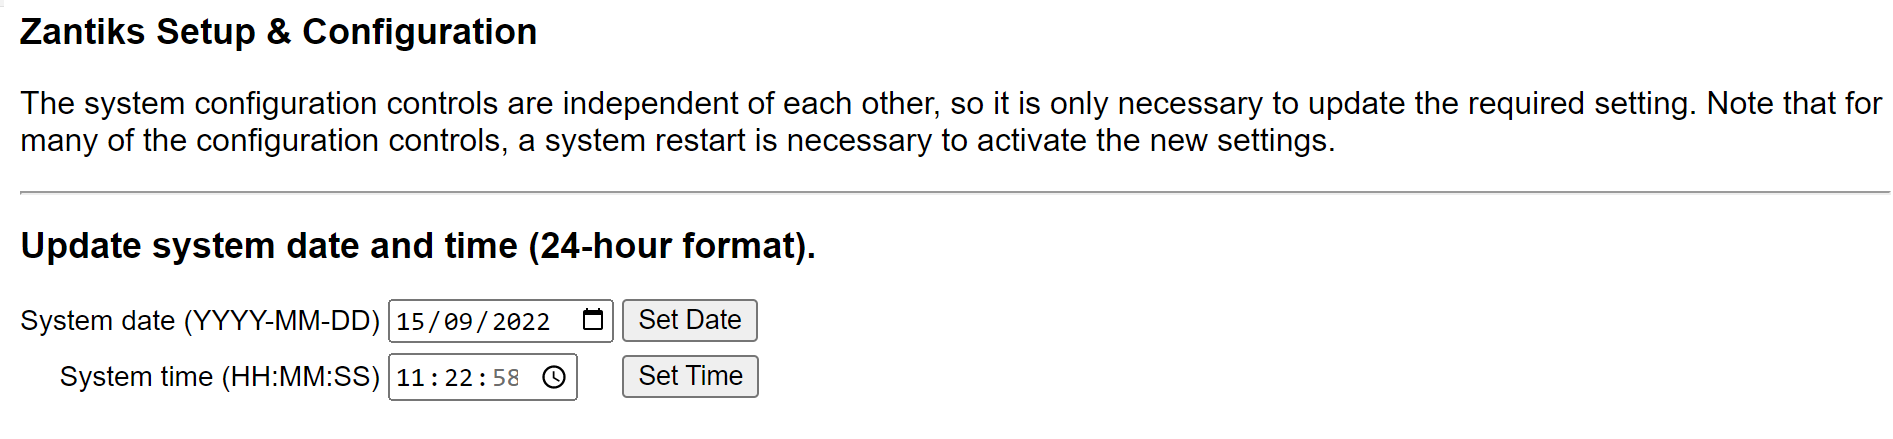
The unit's default time is set to Coordinated Universal Time (UTC), as Zantiks Ltd. is based in the U.K. Both the time and date can be changed from here. Type in the desired changes and click SET. The changes should update and remain after restarting the unit.
System setting(s)

In addition to the individual data files from each run of a service (i.e., script), the unit can output a composite data file of all the runs of any service in one day. The default setting for this setting is 'ON'. If the composite data file is not needed, change the setting to 'OFF' and click 'UPDATE', and restart.
System configuration & Identification

Apparatus identification: set the name of the device with this setting. This can be useful when multiple units are within one lab to easy identify which unit is currently connected. Once set the unit's name can be found under the identification button at the top left side of the Control Console's Homepage.
Image tracking
The default tracking settings are set to the size of an adult zebrafish for an AD unit. In general, it is not recommended to change the settings here, and we believe it is better to set them in each script. For more information regarding scripting the tracking setting, please see the Tracking Settings Z2S page.
Image tracking detection threshold: This is the level at which the unit will properly detect the organism (and not other artefacts in the arena).
Detector tilesize ('x' or 'x,y') in pixels: Zanscript includes a default tile size of 10 (the tile size for an average sized, adult zebrafish). Larger or smaller animals will need this function reset. Smaller animals, such as larval zebrafish and Drosophila, require a smaller TILE_SIZE (i.e., 5) and vice versa.
Filter step size in pixels: The step size should be the square root of the search distance.
Filter search distance (from start point): step size and search distance set the area size the software uses to look for the difference between the live view and the reference image within the distance/size set.
Filter radius: The filter radius is the approximate radius of the tracked object in pixels. See Notes on the additional SET functions on the Tracking Settings Z1 page for more details.
Move tolerance in mms: the amount of movement the tracking software allows for to control for falsely tracked movements. The default move tolerance is 0.75% of the diagonal of the image, (which is 6 pixels), before it starts adding to the recorded distance moved. In the MWP, 6 pixels is approximately 1.5 mm, in the AD it is ~2.1mm and in the LT it is ~3.8mm. Editing the number here tells the software to not count a distance unless there is a movement of at least this amount of movement in mm from start or last time a distance moved was incremented. You can also change the move tolerance within the script using the SET(MOVE_TOLERANCE_MM,#) command.
NOTE: Move tolerance will not reset by Autoreference if repeated in a script.
Maximum time for an autoref operation: A reference image is complied by filming for the period of time set in this setting. The image is best achieved when the animals have moved during the AUTOREF period. The number is in seconds and can be raised or lower as needed. See Reference image settings section on the Tracking Settings Z2S page for more details.
Autoref operating mode: sets the method for capturing the reference image. The value of 0 means that the reference image will be based on movement. A value of 1 means the reference image will be based on the brightness of the animal relative to the background. AutoRef 0 will operate until the software detects all animals have moved and therefore the Autoref time can be shorter than the max time set within Max. time for an autoref operation or in SET(AUTOREF_TIMEOUT,#) within a script. AutoRef 1 will operate for the entire time as set in these commands.
NOTE: In most cases, we recommend that you use Autoref operating mode - 0. See Reference image settings section on the Tracking Settings Z2S page for more details.
Camera settings (Model ZC2)
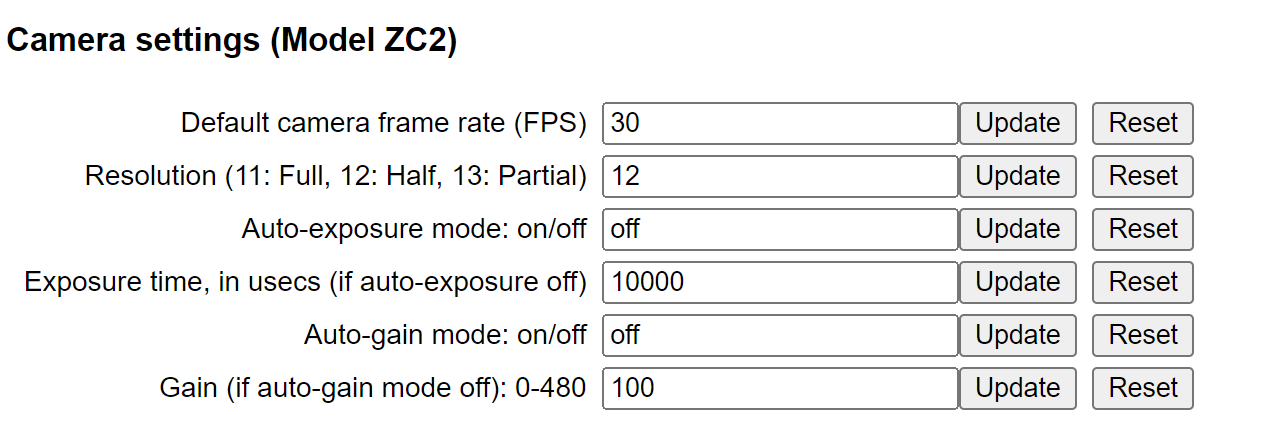
Default camera frame rate (FPS): sets the frame rate. The default is to operate at 30fps. Frame rate options currently: 30, 15, 5 and 1.
NOTE: exposure time has priority over frame rate - so if a exposure time of 100 ms is set, then the frame rate will not be able to be higher than 10.
Resolution (11:Full, 12:Half, 13:Partial): The default resolution is set to Half and leads to a clear image for most sized animals. Full - 1440x1080; Half - 720x540; Partial - 640x480. The partial mode is a 'region of interest' (ROI) in the centre of the image. When running in this mode the system will, with updated software, be able to run at very high frame rates (up to 600 fps).
NOTE: Scripts will abort if an asset file (zones or arenas) is loaded, but does not match the current system image resolution.
Auto-exposure mode: on/off: The auto modes are turned off as default and this is the recommended setting. The lighting within the system is fixed and keeping a consistently lit image during tracking is important in avoiding false tracks. If the auto modes are turned on, the lighting can change based on the location of the animal in the arena.
Exposure time, in usecs (if auto-exposure off): exposure time is the camera's shutter speed. Reducing shutter speed reduces the blurry aspect of the image. Typical exposure time values for the MWP is 3000, the AD is 20000 and the LT is 15000 (e.g., 3ms, 20ms and 15ms shutter speed).
Auto-gain mode: on/off: The auto modes are turned off as default and this is the recommended setting. The lighting within the system is fixed and keeping a consistently lit image during tracking is important in avoiding false tracks. If the auto modes are turned on, the lighting can change based on the location of the animal in the arena.
Gain (if auto-gain mode off): 0-480: Camera gain is the amplification of the camera signal which makes it brighter. Increasing the gain, increases brightness. However, it also increases "noise", which can lead to false tracking. In the Zantiks MWP unit, the typical camera gain is set to 0. In the Zantiks AD or LT units, the typical camera gain is set to 100.
NOTE: It is possible to adjust the camera setting for ZC2 models via the Zanscript scripting language. Details on the commands can be found on the ZC2 camera settings demo page.
Control board

Relay 1 controls the CN4 output, which in its default state is set to On or a closed relay. Relay 2 controls the CN3 output, which in its default state is set to Off or an open relay. These can be altered to set the chosen relay to either "On" or "Off", which will activate or shut down the circuits that powers the stimuli. For both CN3 and CN4, the relay being closed will provide 12V power on the middle connector.
The relays can be further controlled in scripts via the C# operation within ZCOMMAND or the SET(RELAY,ON) commands.
System Restart

Restarts/reboots the unit.
Delete configuration settings
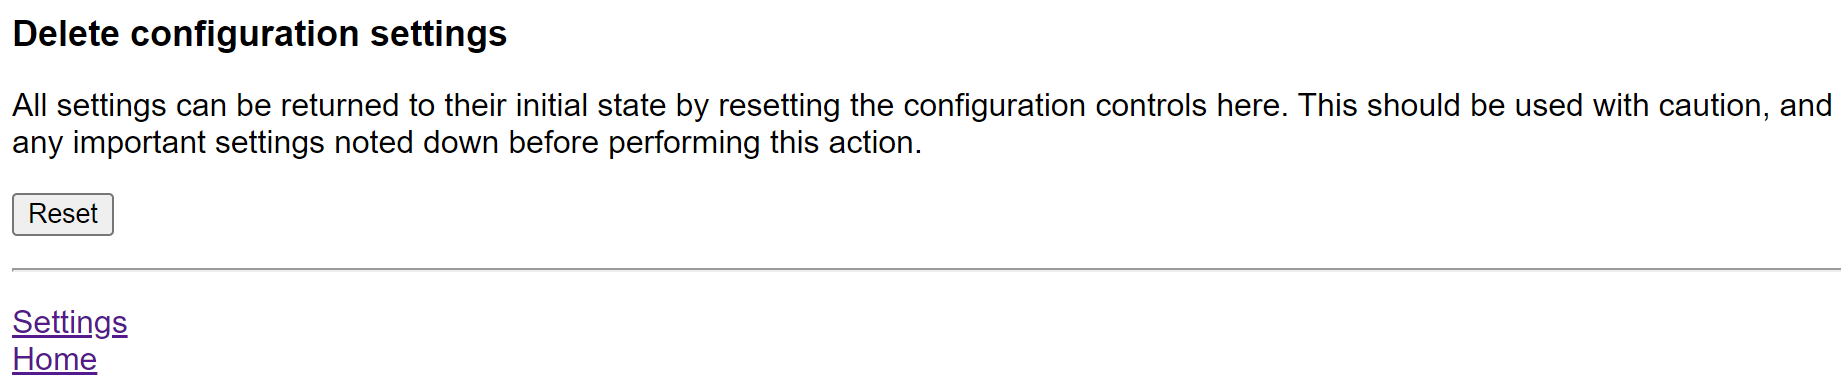
If the settings have been changed/updated, they can be reset to the default settings here. Be sure to keep a note of important settings before using the reset.

