This section contains instructions on how to calibrate your Zantiks system. Before you are able to build any assets needed for tracking and data collection, the unit must first be calibrated.
Typically, each unit will only need to be calibrated once. However, if the top box is moved/removed on the system for any reason, or the entire system has been moved (e.g. to another bench/lab), it is good practice to then re-calibrate the system and possibly re-draw the assets since the camera alignment could have shifted slightly. A re-calibration will correct for this and mitigate potential tracking errors.
Calibrating the Zantiks unit
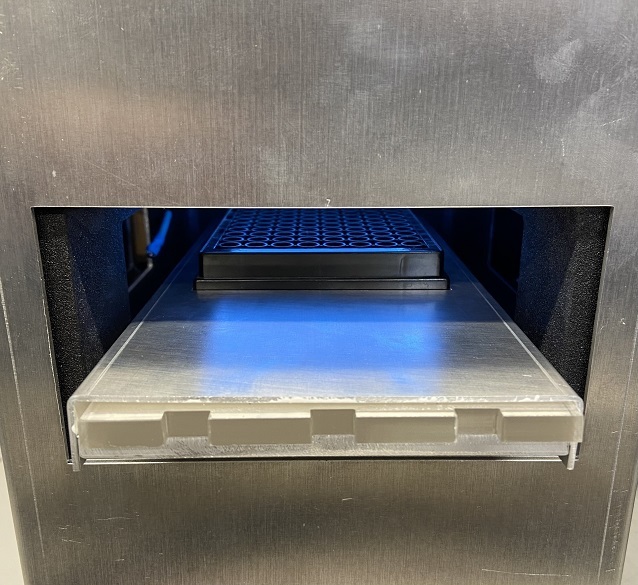
1. Each Zantiks unit is supplied with a "calibration plate".
a) The MWP is supplied with a black 96-well plate.
b) The AD and LT units are supplied with an aluminium 96 holed plate.
2. When using a MWP unit, place this plate onto the light/diffuser stand and push to the back and then to the left for standard positioning. Then place the stand with the calibration plate into the MWP unit.
3. When using an AD or LT unit, place this plate directly onto the unit's base (i.e., the built in screen).
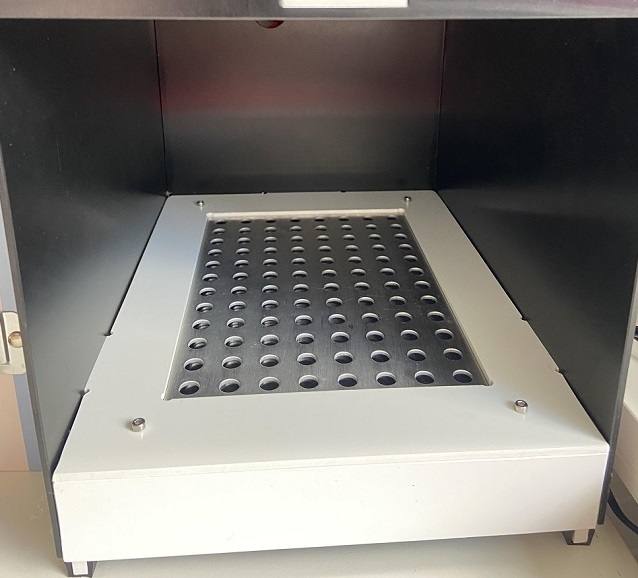
4. The four legs of the light/diffuser stand or corners of the aluminium plate should fit snug into each corner of the unit's base. If there is some room for movement push the plate to the back and then to the left of the base.
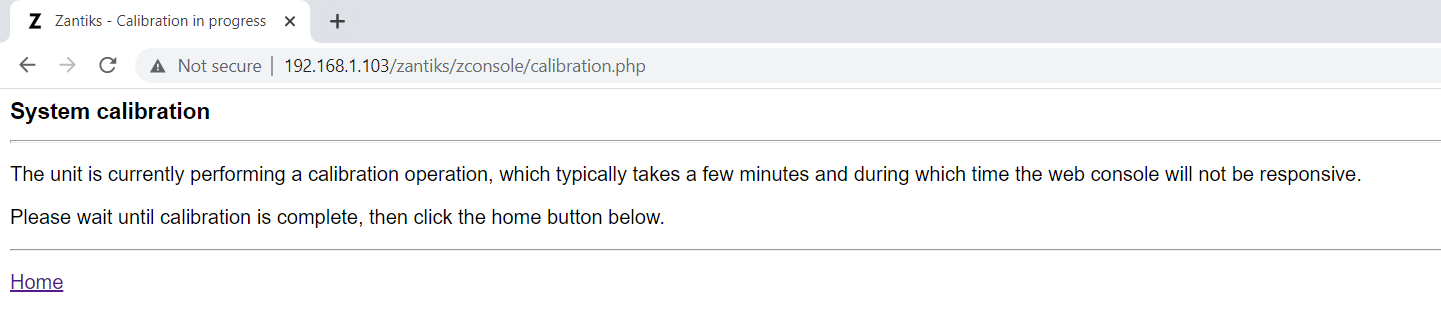
5. The unit is preloaded with a script named 'calibration.zs', which will be assigned to one of the service buttons on the Control Console homepage. Select this service button and click RUN to start the calibration.
NOTE: The script will freeze your console screen for a few minutes while it runs the calibration.
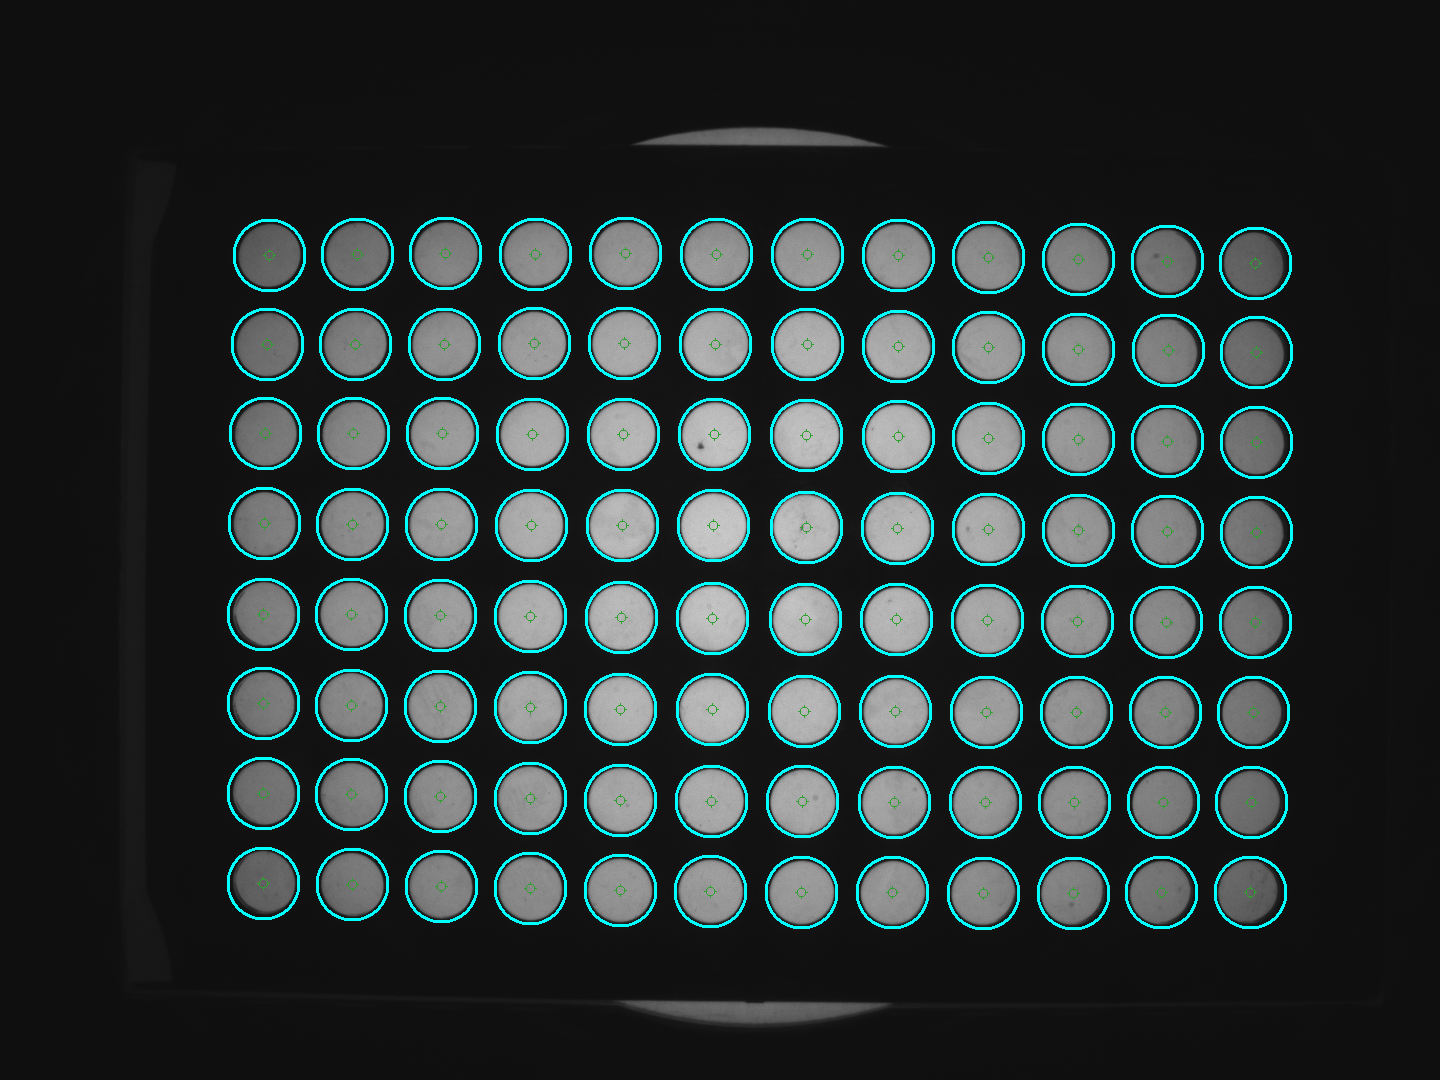
6. Once the calibration is complete there will be new images loaded into the Media directory. Check these images to ensure the calibration was successful. 'calcheck.bmp' is the best way to check the calibration was successful. The light blue circles should completely surround the wells/holes.
Example image of a successful calibration. >
Video demo
The video below demonstrates how to run the calibration on the Zantiks console in the MWP unit and build an asset.
Calibrating the MWP unit and building assets.
Script download
To download the zanscript to run the calibration as a .zs files (file type Zantiks software reads), choose the Save File As option in the right-click dialogue box. Clicking on the script name hyperlink will open a read-only version of the script.
Script download:
Calibration: calibration.zs
Next, go to the Asset building manuals to see how to create arena and zone assets used for tracking.
For the MWP unit: Asset building in MWP unit
For the AD unit: Asset building in AD unit
For the LT unit: Asset building in LT unit

