Nose poke responses are a standard method of measuring operant responding, and normally require specific hardware to measure a beam break. Although the Zanscript software is set by default to track the movement activity of a whole animal, nose pokes can easily be activated through two detection settings within your script.
Once these are set, a zone asset (loaded into the Asset directory and written into the script using the LOAD(ZONES,"name_of_nose_poke_asset") will act as the nose poke targets. Data including nose poke counts, time of the nose poke and duration of the nose poke can be collected. Nose poke zones are distinct from 'normal' zones, and can be distinguished by the SET(ACTIVITY_ZONES,#) command detailed below on this page.
Nose poke setting commands
There are two detection settings for nose pokes. These should be placed at the top of your script prior to the ACTION MAIN.
SET(ACTIVITY_THRESHOLD,#)
SET(MAXIMUM_TARGETS,0)
SET(ACTIVITY_THRESHOLD,#) - This is the level at which the unit will properly detect a nose poke in a target zone. The threshold will depend on the size of the target zone set for the nose poke. The larger the zone, the lower the threshold should be to enable detections. However, this can make false detections more likely, so it is ideal to have small detection zones.
SET(MAXIMUM_TARGETS,0) - when interested in only nose pokes and not general activity of the animal, setting the maximum targets to 0 turns off centre of body tracking. The software runs with maximum targets of 1 by default.
Reference image setting commands
The reference image settings used with body tracking are still applicable for nose poke detection.
There are two reference image settings which tell the unit how to capture the tracking reference image and how long to take to create the final image. The image is best achieved when the animals have moved during the AUTOREF period, as it works by removing the animal from the background image. Tracking is achieved by looking for significant differences, of suitable size and strength, between this 'empty' image and the current video image.
SET(AUTOREF_MODE,MOVEMENT)
SET(AUTOREF_TIMEOUT,#)

AUTOREFERENCE()
SET(AUTOREF_MODE,MOVEMENT) - This command sets the method for capturing the reference image.
- NOTE: We recommend that you use SET(AUTOREF_MODE,MOVEMENT), which is based on the animal moving during the autoref period.
SET(AUTOREF_TIMEOUT,#) - A reference image is compiled by filming for the period of time set in this command. If an animal is unlikely to move much (e.g., a young larval fish), increasing this setting to a larger amount of time allows for a greater possibility of the system capturing movement.
AUTOREFERENCE() - this function is used to execute the above settings in an attempt to create the reference image. This image is stored as autoref.bmp in the assets directory. This should be included at the point in the script where you want the reference image created. This typically occurs within ACTION MAIN at the start of your experiment. However, this function can be included at any point in the script and can occur more than once during an experiment.
Nose poke settings in the AD & LT units
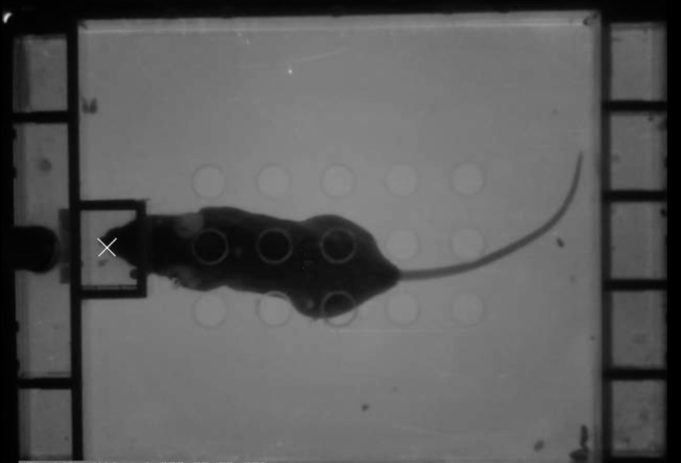
Mouse
SET(MAXIMUM_TARGETS,0)
SET(ACTIVITY_THRESHOLD,2) # for larger target zones
#SET(ACTIVITY_THRESHOLD,10) # for smaller target zones

SET(AUTOREF_MODE,MOVEMENT)
SET(AUTOREF_TIMEOUT,30)

